Back to Integrations
integrationPipedrive node
integrationWebflow node

Pipedrive and Webflow integration

Save yourself the work of writing custom integrations for Pipedrive and Webflow and use n8n instead. Build adaptable and scalable Sales, and Marketing workflows that work with your technology stack. All within a building experience you will love.

How to connect Pipedrive and Webflow

  • Step 1: Create a new workflow
  • Step 2: Add and configure nodes
  • Step 3: Connect
  • Step 4: Customize and extend your integration
  • Step 5: Test and activate your workflow

Step 1: Create a new workflow and add the first step

In n8n, click the "Add workflow" button in the Workflows tab to create a new workflow. Add the starting point – a trigger on when your workflow should run: an app event, a schedule, a webhook call, another workflow, an AI chat, or a manual trigger. Sometimes, the HTTP Request node might already serve as your starting point.
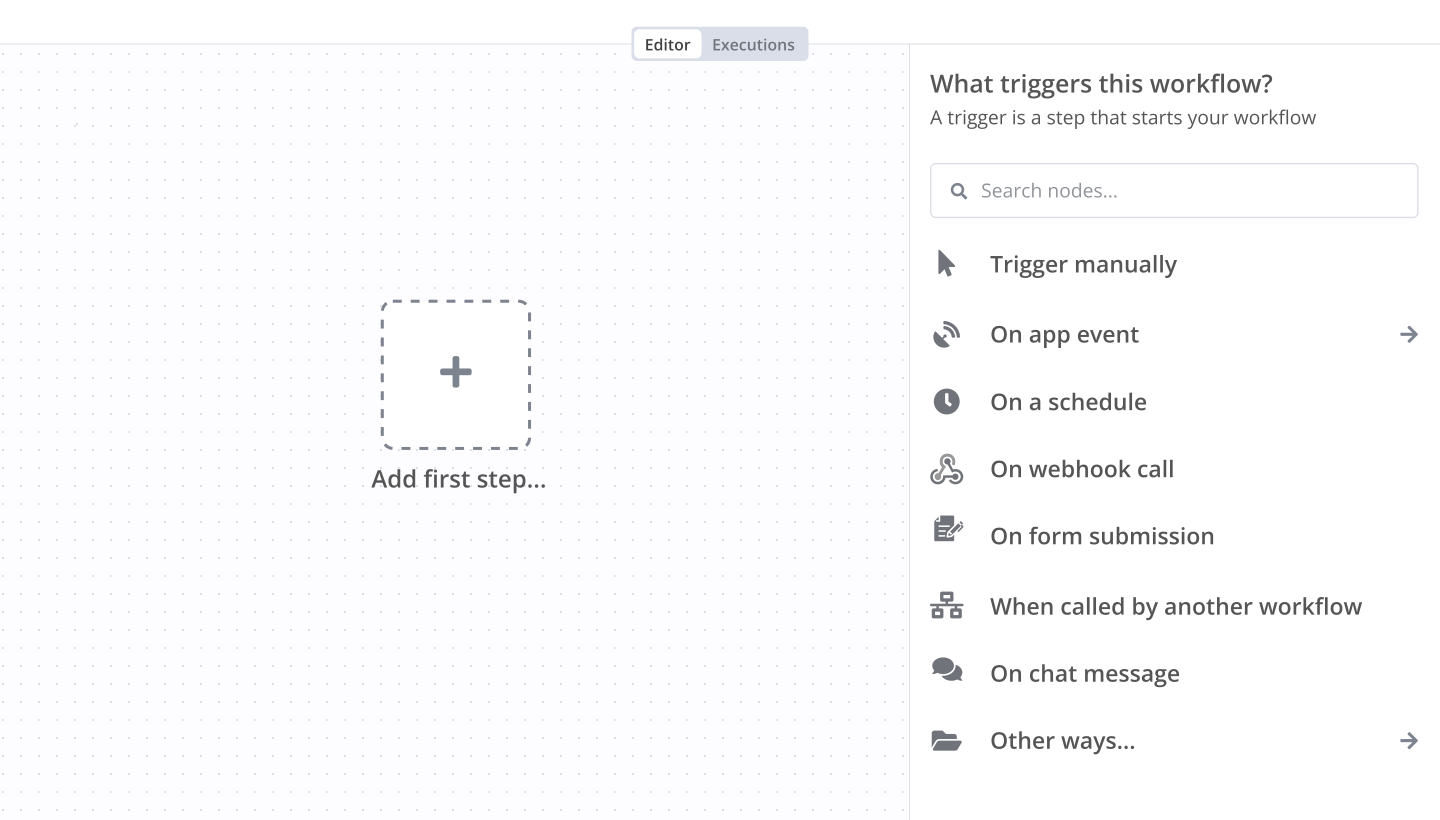
Pipedrive and Webflow integration: Create a new workflow and add the first step

Step 2: Add and configure Pipedrive and Webflow nodes

You can find Pipedrive and Webflow in the nodes panel. Drag them onto your workflow canvas, selecting their actions. Click each node, choose a credential, and authenticate to grant n8n access. Configure Pipedrive and Webflow nodes one by one: input data on the left, parameters in the middle, and output data on the right.

Pipedrive and Webflow integration: Add and configure Pipedrive and Webflow nodes

Step 3: Connect Pipedrive and Webflow

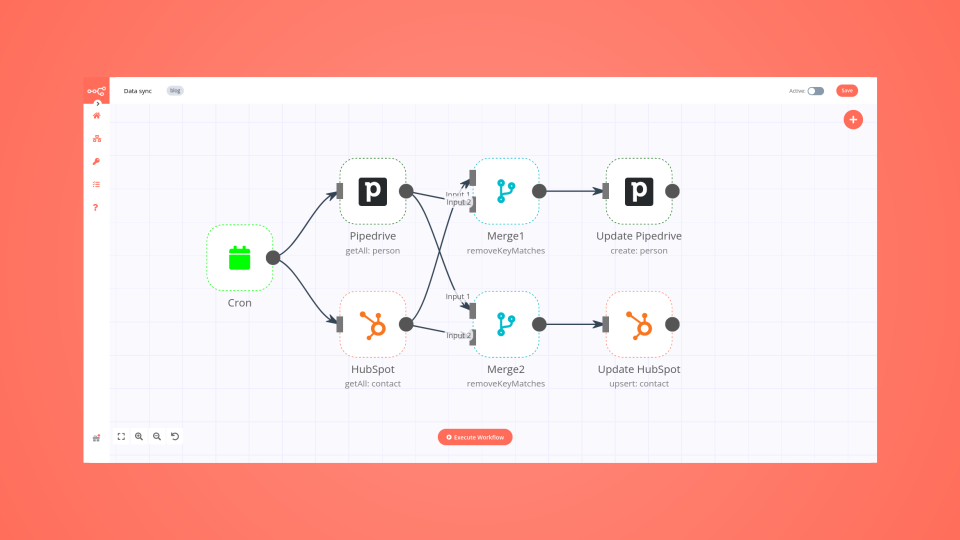
A connection establishes a link between Pipedrive and Webflow (or vice versa) to route data through the workflow. Data flows from the output of one node to the input of another. You can have single or multiple connections for each node.

Pipedrive and Webflow integration: Connect Pipedrive and Webflow

Step 4: Customize and extend your Pipedrive and Webflow integration

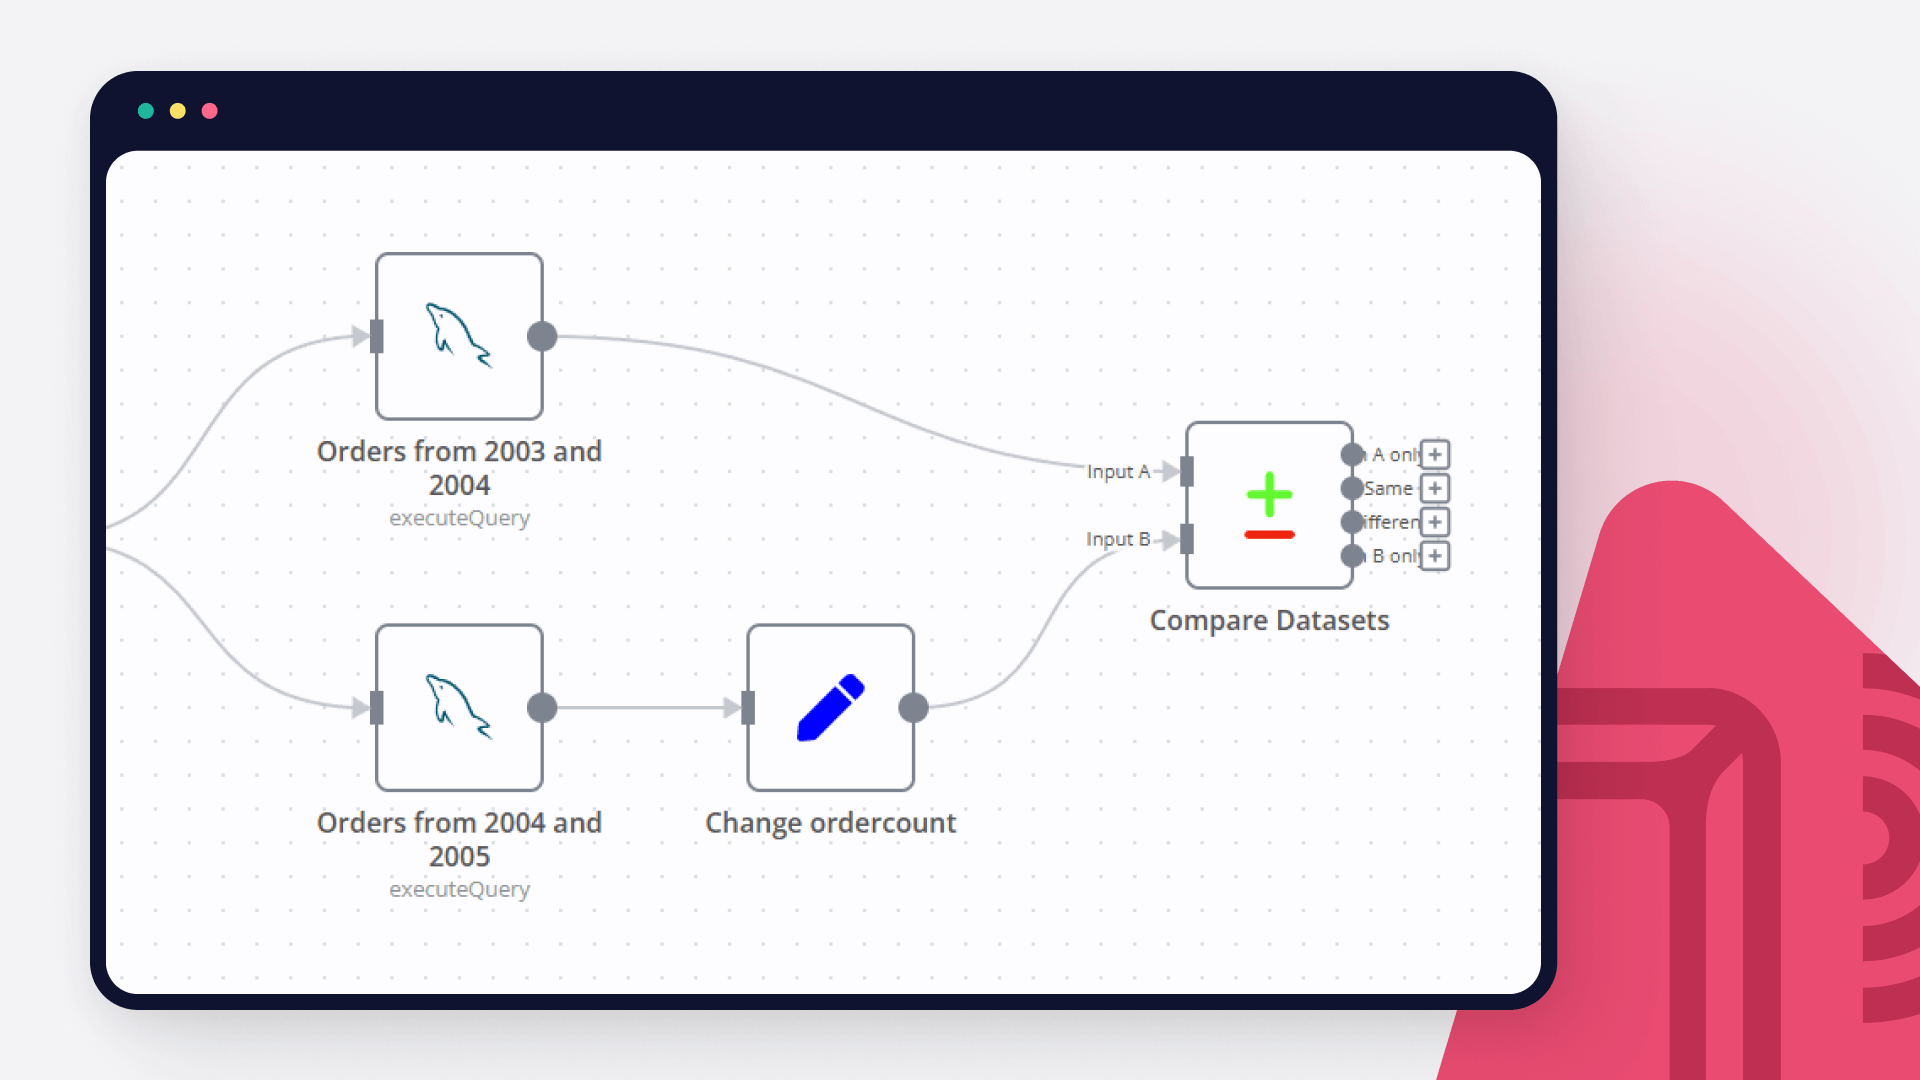
Use n8n's core nodes such as If, Split Out, Merge, and others to transform and manipulate data. Write custom JavaScript or Python in the Code node and run it as a step in your workflow. Connect Pipedrive and Webflow with any of n8n’s 1000+ integrations, and incorporate advanced AI logic into your workflows.

Pipedrive and Webflow integration: Customize and extend your Pipedrive and Webflow integration

Step 5: Test and activate your Pipedrive and Webflow workflow

Save and run the workflow to see if everything works as expected. Based on your configuration, data should flow from Pipedrive to Webflow or vice versa. Easily debug your workflow: you can check past executions to isolate and fix the mistake. Once you've tested everything, make sure to save your workflow and activate it.

Pipedrive and Webflow integration: Test and activate your Pipedrive and Webflow workflow

Sync leads from Webflow to Pipedrive CRM using n8n

This n8n template automates the process of capturing leads from Webflow form submissions and syncing them with your Pipedrive CRM. It ensures that each submission is accurately associated with the correct organization and contact in Pipedrive, streamlining lead management and minimizing duplicates.

Use cases include:
Sales teams that want to automate CRM data entry, marketing teams capturing qualified leads from landing pages, or any business looking to improve their Webflow-to-CRM integration workflow.

Good to know
The workflow assumes that Webflow form submissions include the lead’s email address.

The domain is extracted from the email to match or create the organization in Pipedrive.

This template does not handle lead scoring or enrichment, but can be extended for such use-cases.

How it works

Extract website from email
The email is split to extract the domain (e.g., [email protected]company.com), which is used to search for existing organizations.

Check if the organization exists
The Pipedrive API is queried using the domain. If the organization exists, we proceed. If not, a new organization is created.

Check if the person exists
-- If the person already exists in Pipedrive, a note is added to their activities to log the form submission.
-- If the person does not exist, a new person is created, a note is added to the person, and a new lead is created.

(Optional) Add your own actions
You can extend this workflow to trigger Slack notifications, email follow-ups, or internal dashboards.

How to use
Start with the manual trigger node, or replace it with a webhook to connect directly to Webflow form submissions in real-time.

Requirements
Webflow form integration (via webhook or other method)
Pipedrive account and API key

Customising this workflow
You can add enrichment services to auto-fill job titles or LinkedIn profiles. Perfect for growing sales pipelines without manual CRM input.

Nodes used in this workflow

Popular Pipedrive and Webflow workflows

Sync Leads from Webflow to Pipedrive CRM Using n8n

This n8n template automates the process of capturing leads from Webflow form submissions and syncing them with your Pipedrive CRM. It ensures that each submission is accurately associated with the correct organization and contact in Pipedrive, streamlining lead management and minimizing duplicates. Use cases include: Sales teams that want to automate CRM data entry, marketing teams capturing qualified leads from landing pages, or any business looking to improve their Webflow-to-CRM integration workflow. Good to know The workflow assumes that Webflow form submissions include the lead’s email address. The domain is extracted from the email to match or create the organization in Pipedrive. This template does not handle lead scoring or enrichment, but can be extended for such use-cases. How it works Extract website from email The email is split to extract the domain (e.g., [email protected] → company.com), which is used to search for existing organizations. Check if the organization exists The Pipedrive API is queried using the domain. If the organization exists, we proceed. If not, a new organization is created. Check if the person exists -- If the person already exists in Pipedrive, a note is added to their activities to log the form submission. -- If the person does not exist, a new person is created, a note is added to the person, and a new lead is created. (Optional) Add your own actions You can extend this workflow to trigger Slack notifications, email follow-ups, or internal dashboards. How to use Start with the manual trigger node, or replace it with a webhook to connect directly to Webflow form submissions in real-time. Requirements Webflow form integration (via webhook or other method) Pipedrive account and API key Customising this workflow You can add enrichment services to auto-fill job titles or LinkedIn profiles. Perfect for growing sales pipelines without manual CRM input.

Sync Webflow form leads to Pipedrive with Discord and Gmail notifications

Who it's for This workflow is for sales and marketing teams using Webflow as their primary lead capture tool and Pipedrive as their CRM. It automates the entire lead intake process, from form submission to CRM entry and team notification, eliminating manual data entry. How it works A Webflow form submission triggers the workflow and captures lead fields (name, company, email, phone, website URL, message). Key fields are mapped and phone numbers are cleaned and formatted with the correct international dial code using a custom code node. The workflow searches Pipedrive for an existing organization matching the company name. If none is found, a new one is created. Results are aggregated. It then searches for the contact person by name. If found, their record is updated; if not, a new person is created and linked to the organization. A new lead is created in Pipedrive associating the person and organization. In parallel: a Discord message notifies the team, a Gmail confirmation email is sent to the lead, and — if a website URL was provided — the organization's URL field in Pipedrive is updated. How to set up [ ] Connect your Webflow OAuth2 credentials and configure the Form Trigger with the correct site [ ] Add Pipedrive API credentials to all Pipedrive nodes [ ] Add Discord Bot credentials and set the target server and channel in the Notify Team on Discord node [ ] Add Gmail OAuth2 credentials and adjust the email subject and body in Send Confirmation Email [ ] Review the Format Phone Numbers code node to confirm the country detection logic matches your audience [ ] Adjust the Filter Valid Organization URL conditions if needed Requirements Webflow account with a published form Pipedrive CRM account Discord server with a bot token Gmail account with OAuth2 access How to customize Extend the Set Contact Fields node to map additional Webflow form fields into Pipedrive custom properties. Replace the Gmail node with a SendGrid or SMTP node to use a transactional email service instead. Add a Slack node alongside or instead of Discord for team notifications if your team uses Slack.

Build your own Pipedrive and Webflow integration

Create custom Pipedrive and Webflow workflows by choosing triggers and actions. Nodes come with global operations and settings, as well as app-specific parameters that can be configured. You can also use the HTTP Request node to query data from any app or service with a REST API.

Pipedrive supported actions

Create
Create an activity
Delete
Delete an activity
Get
Get an activity
Get Many
Get many activities
Update
Update an activity
Create
Create a deal
Delete
Delete a deal
Duplicate
Duplicate a deal
Get
Get a deal
Get Many
Get many deals
Search
Search deals
Update
Update a deal
Add
Add a product to a deal
Get Many
Get many products of a deal
Remove
Remove a product from a deal
Update
Update a product in a deal
Create
Create a file
Delete
Delete a file
Download
Download a file
Get
Get a file
Update
Update a file
Create
Create a lead
Delete
Delete a lead
Get
Get a lead
Get Many
Get many leads
Update
Update a lead
Create
Create a note
Delete
Delete a note
Get
Get a note
Get Many
Get many notes
Update
Update a note
Create
Create an organization
Delete
Delete an organization
Get
Get an organization
Get Many
Get many organizations
Search
Search organizations
Update
Update an organization
Create
Create a person
Delete
Delete a person
Get
Get a person
Get Many
Get many persons
Search
Search persons
Update
Update a person
Create
Create a product
Delete
Delete a product
Get
Get a product
Get Many
Get many products
Search
Search products
Update
Update a product

Webflow supported actions

Create
Delete
Get
Get Many
Update

FAQs

  • Can Pipedrive connect with Webflow?

  • Can I use Pipedrive’s API with n8n?

  • Can I use Webflow’s API with n8n?

  • Is n8n secure for integrating Pipedrive and Webflow?

  • How to get started with Pipedrive and Webflow integration in n8n.io?

Need help setting up your Pipedrive and Webflow integration?

Discover our latest community's recommendations and join the discussions about Pipedrive and Webflow integration.
Georgy Alaverdyan

Looking to integrate Pipedrive and Webflow in your company?

Over 3000 companies switch to n8n every single week

Why use n8n to integrate Pipedrive with Webflow

Build complex workflows, really fast

Build complex workflows, really fast

Handle branching, merging and iteration easily.
Pause your workflow to wait for external events.

Code when you need it, UI when you don't

Simple debugging

Your data is displayed alongside your settings, making edge cases easy to track down.

Use templates to get started fast

Use 1000+ workflow templates available from our core team and our community.

Reuse your work

Copy and paste, easily import and export workflows.

Implement complex processes faster with n8n

red iconyellow iconred iconyellow icon