Back to Integrations
integrationWebhook node
integrationRabbitMQ node

Webhook and RabbitMQ integration

Save yourself the work of writing custom integrations for Webhook and RabbitMQ and use n8n instead. Build adaptable and scalable Development, and Core Nodes workflows that work with your technology stack. All within a building experience you will love.

How to connect Webhook and RabbitMQ

  • Step 1: Create a new workflow
  • Step 2: Add and configure nodes
  • Step 3: Connect
  • Step 4: Customize and extend your integration
  • Step 5: Test and activate your workflow

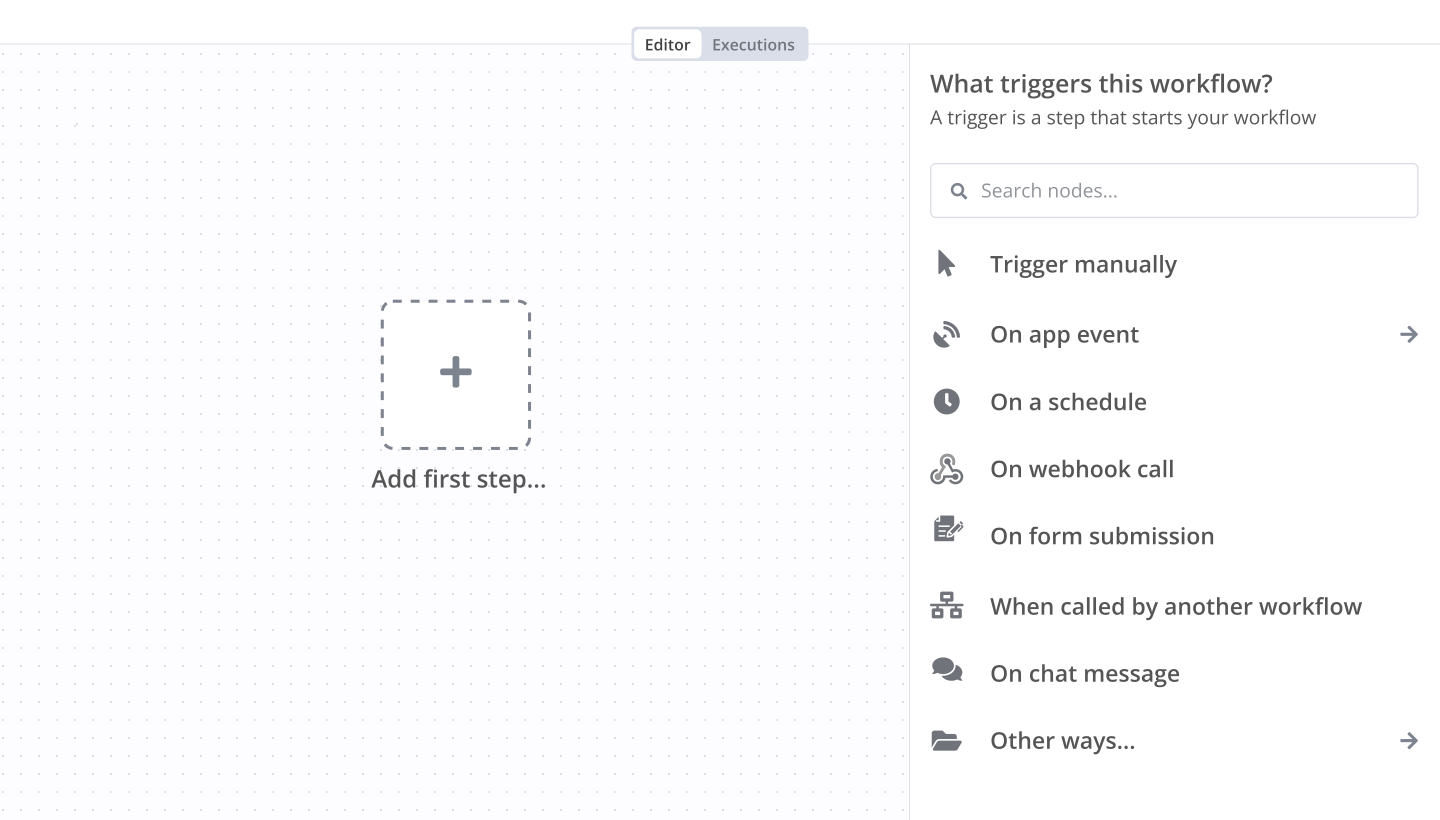
Step 1: Create a new workflow and add the first step

In n8n, click the "Add workflow" button in the Workflows tab to create a new workflow. Add the starting point – a trigger on when your workflow should run: an app event, a schedule, a webhook call, another workflow, an AI chat, or a manual trigger. Sometimes, the HTTP Request node might already serve as your starting point.

Webhook and RabbitMQ integration: Create a new workflow and add the first step

Step 2: Add and configure Webhook and RabbitMQ nodes

You can find Webhook and RabbitMQ in the nodes panel. Drag them onto your workflow canvas, selecting their actions. Click each node, choose a credential, and authenticate to grant n8n access. Configure Webhook and RabbitMQ nodes one by one: input data on the left, parameters in the middle, and output data on the right.

Webhook and RabbitMQ integration: Add and configure Webhook and RabbitMQ nodes

Step 3: Connect Webhook and RabbitMQ

A connection establishes a link between Webhook and RabbitMQ (or vice versa) to route data through the workflow. Data flows from the output of one node to the input of another. You can have single or multiple connections for each node.

Webhook and RabbitMQ integration: Connect Webhook and RabbitMQ

Step 4: Customize and extend your Webhook and RabbitMQ integration

Use n8n's core nodes such as If, Split Out, Merge, and others to transform and manipulate data. Write custom JavaScript or Python in the Code node and run it as a step in your workflow. Connect Webhook and RabbitMQ with any of n8n’s 1000+ integrations, and incorporate advanced AI logic into your workflows.

Webhook and RabbitMQ integration: Customize and extend your Webhook and RabbitMQ integration

Step 5: Test and activate your Webhook and RabbitMQ workflow

Save and run the workflow to see if everything works as expected. Based on your configuration, data should flow from Webhook to RabbitMQ or vice versa. Easily debug your workflow: you can check past executions to isolate and fix the mistake. Once you've tested everything, make sure to save your workflow and activate it.

Webhook and RabbitMQ integration: Test and activate your Webhook and RabbitMQ workflow

Route client onboarding webhook events through RabbitMQ to Gmail alerts

Publish Subscribe Example - Webhook to RabbitMQ, RabbitMQ to GMAIL

How it works

This workflow demonstrates a resilient publish/subscribe automation pattern using n8n, RabbitMQ, JSON Schema validation, and Gmail.

It contains two flows in the same workflow:

A publisher flow receives client onboarding JSON through a webhook.
The payload is validated against a JSON Schema.
If valid, the workflow publishes the event to RabbitMQ.
A subscriber flow listens to the RabbitMQ queue.
The subscriber validates the received event again.
If the message is valid, it prepares and sends a Gmail notification.
Invalid messages and processing failures are routed to a dead-letter/error queue.

This template is useful for client onboarding, accounting intake, document processing, form submissions, internal notifications, and event-driven workflow automation.

Set up steps

Create or connect a RabbitMQ instance.
Create the following RabbitMQ resources:
Exchange: client.onboarding.exchange
Exchange type: topic
Main queue: client.onboarding.queue
Routing key: client.onboarding.received
Dead letter/error queue: client.onboarding.dlq

In n8n, configure your RabbitMQ credentials.
Replace the RabbitMQ credential placeholder with your own RabbitMQ credential.
Replace the JSON Schema Validator placeholder nodes with your preferred JSON Schema validation node or validation service.
Configure the Gmail credential.
Replace the Gmail placeholder node with the Gmail Send Email node.
Update the recipient email address in the “Prepare Gmail Email” node.
Test the publisher webhook with a sample client onboarding JSON payload.
Confirm the message is published to RabbitMQ and then consumed by the subscriber flow.
Confirm Gmail receives the formatted notification email.

Required credentials

RabbitMQ credentials
Gmail OAuth2 credentials
Optional JSON Schema validator community node or external validation service

Example input JSON

{
"clientId": "C1001",
"clientName": "John Smith",
"email": "[email protected]",
"serviceType": "Individual Tax Return",
"taxYear": 2025,
"documents": [
{
"documentType": "Photo ID",
"fileName": "john-smith-passport.pdf"
},
{
"documentType": "PAYG Summary",
"fileName": "john-smith-payg-summary.pdf"
}
]
}

Resilience and Error Handling

This template includes:
Validation before publish
Validation after subscribe
Correlation ID
Schema version
Dead-letter queue
Email failure branch
Invalid message branch
RabbitMQ publish failure branch

Invalid or failed messages are routed to client.onboarding.dlq.

Nodes used in this workflow

Popular Webhook and RabbitMQ workflows

Route client onboarding webhook events through RabbitMQ to Gmail alerts

Publish Subscribe Example - Webhook to RabbitMQ, RabbitMQ to GMAIL How it works This workflow demonstrates a resilient publish/subscribe automation pattern using n8n, RabbitMQ, JSON Schema validation, and Gmail. It contains two flows in the same workflow: A publisher flow receives client onboarding JSON through a webhook. The payload is validated against a JSON Schema. If valid, the workflow publishes the event to RabbitMQ. A subscriber flow listens to the RabbitMQ queue. The subscriber validates the received event again. If the message is valid, it prepares and sends a Gmail notification. Invalid messages and processing failures are routed to a dead-letter/error queue. This template is useful for client onboarding, accounting intake, document processing, form submissions, internal notifications, and event-driven workflow automation. Set up steps Create or connect a RabbitMQ instance. Create the following RabbitMQ resources: Exchange: client.onboarding.exchange Exchange type: topic Main queue: client.onboarding.queue Routing key: client.onboarding.received Dead letter/error queue: client.onboarding.dlq In n8n, configure your RabbitMQ credentials. Replace the RabbitMQ credential placeholder with your own RabbitMQ credential. Replace the JSON Schema Validator placeholder nodes with your preferred JSON Schema validation node or validation service. Configure the Gmail credential. Replace the Gmail placeholder node with the Gmail Send Email node. Update the recipient email address in the “Prepare Gmail Email” node. Test the publisher webhook with a sample client onboarding JSON payload. Confirm the message is published to RabbitMQ and then consumed by the subscriber flow. Confirm Gmail receives the formatted notification email. Required credentials RabbitMQ credentials Gmail OAuth2 credentials Optional JSON Schema validator community node or external validation service Example input JSON { "clientId": "C1001", "clientName": "John Smith", "email": "[email protected]", "serviceType": "Individual Tax Return", "taxYear": 2025, "documents": [ { "documentType": "Photo ID", "fileName": "john-smith-passport.pdf" }, { "documentType": "PAYG Summary", "fileName": "john-smith-payg-summary.pdf" } ] } Resilience and Error Handling This template includes: Validation before publish Validation after subscribe Correlation ID Schema version Dead-letter queue Email failure branch Invalid message branch RabbitMQ publish failure branch Invalid or failed messages are routed to client.onboarding.dlq.

Build your own Webhook and RabbitMQ integration

Create custom Webhook and RabbitMQ workflows by choosing triggers and actions. Nodes come with global operations and settings, as well as app-specific parameters that can be configured. You can also use the HTTP Request node to query data from any app or service with a REST API.

RabbitMQ supported modes

Queue
Publish data to queue
Exchange
Publish data to exchange

RabbitMQ supported actions

Send a Message to RabbitMQ
Delete From Queue
Send a Message to RabbitMQ
Delete From Queue

Webhook and RabbitMQ integration details

integrationWebhook node
Webhook

Webhooks are automatic notifications that apps send when something occurs. They are sent to a certain URL, which is effectively the app's phone number or address, and contain a message or payload. Polling is nearly never quicker than webhooks, and it takes less effort from you.

Use case

Save engineering resources

Reduce time spent on customer integrations, engineer faster POCs, keep your customer-specific functionality separate from product all without having to code.

Learn more

FAQs

  • Can Webhook connect with RabbitMQ?

  • Can I use Webhook’s API with n8n?

  • Can I use RabbitMQ’s API with n8n?

  • Is n8n secure for integrating Webhook and RabbitMQ?

  • How to get started with Webhook and RabbitMQ integration in n8n.io?

Need help setting up your Webhook and RabbitMQ integration?

Discover our latest community's recommendations and join the discussions about Webhook and RabbitMQ integration.
Benjamin Hatton
Albert Ashkhatoyan
Víctor González
Salomão
sg tech

Looking to integrate Webhook and RabbitMQ in your company?

Over 3000 companies switch to n8n every single week

Why use n8n to integrate Webhook with RabbitMQ

Build complex workflows, really fast

Build complex workflows, really fast

Handle branching, merging and iteration easily.
Pause your workflow to wait for external events.

Code when you need it, UI when you don't

Simple debugging

Your data is displayed alongside your settings, making edge cases easy to track down.

Use templates to get started fast

Use 1000+ workflow templates available from our core team and our community.

Reuse your work

Copy and paste, easily import and export workflows.

Implement complex processes faster with n8n

red iconyellow iconred iconyellow icon